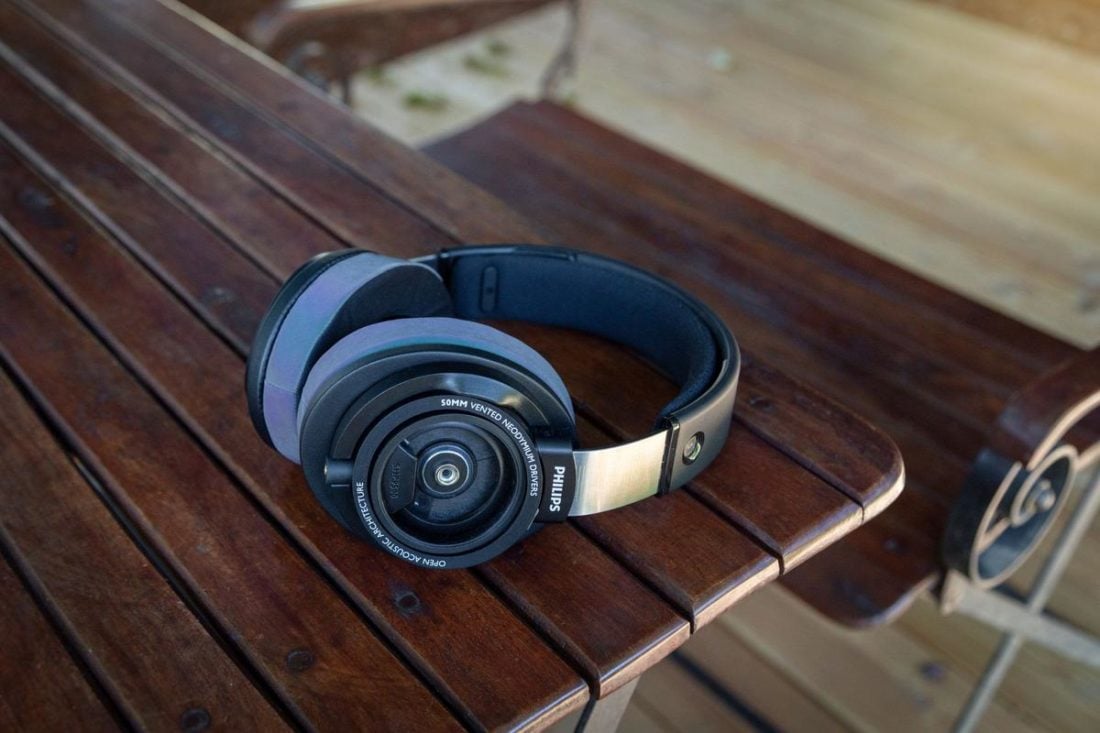
In this tutorial, I will show you how to alter the way the Philips SHP9500 look and sound, while also enhancing their comfort, and changing them to a more closed-back design. I got the inspiration for this idea from a YouTuber named Maxime S. Since my early teens, I have been obsessed with different types of audio gear and have tried out many styles of headphones. I quickly figured out my preference for over-ears. They often are more comfortable, sound better, and look pleasingly bulky (at least from my perspective). It may come as no surprise that I have a huge affinity for transparent electronics. The frame of my glasses is transparent, my last phone had a translucent back-cover, and I even altered my Nintendo Switch to have a see-through housing. Heck, my main reason for buying these headphones was to modify them and make them see-through! I know for most audiophiles out there, the SHP9500 are by no means the gold standard of headphones but they are quite exceptional for their price.
Materials and Tools Needed
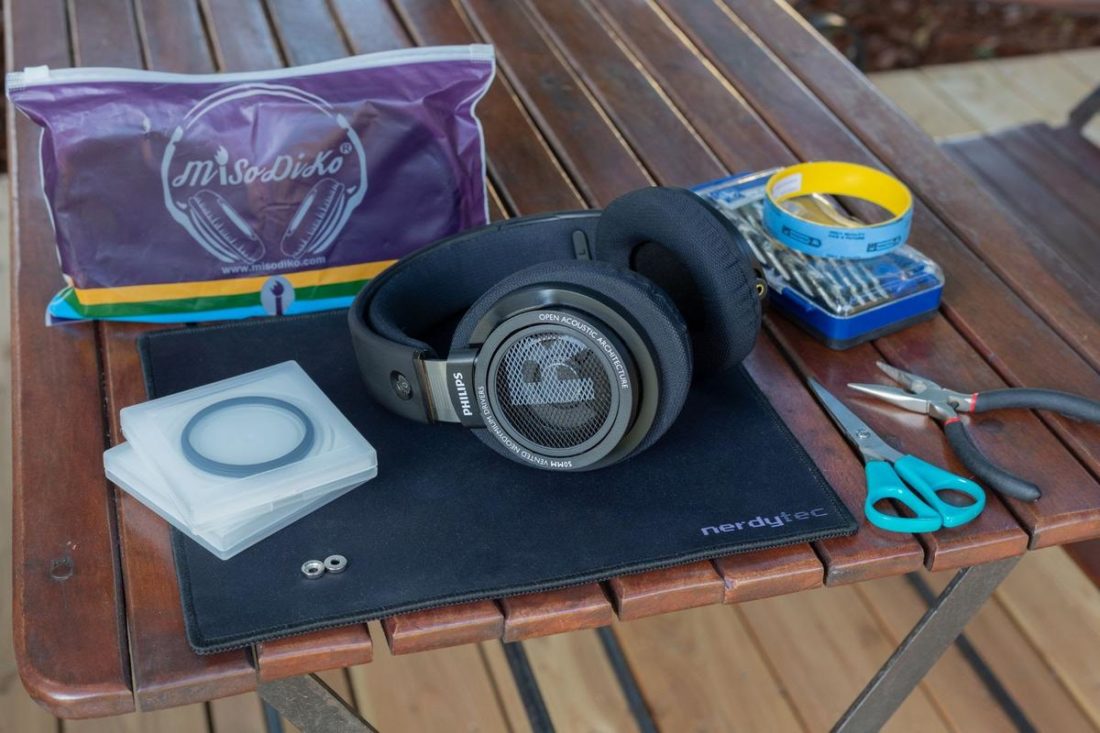
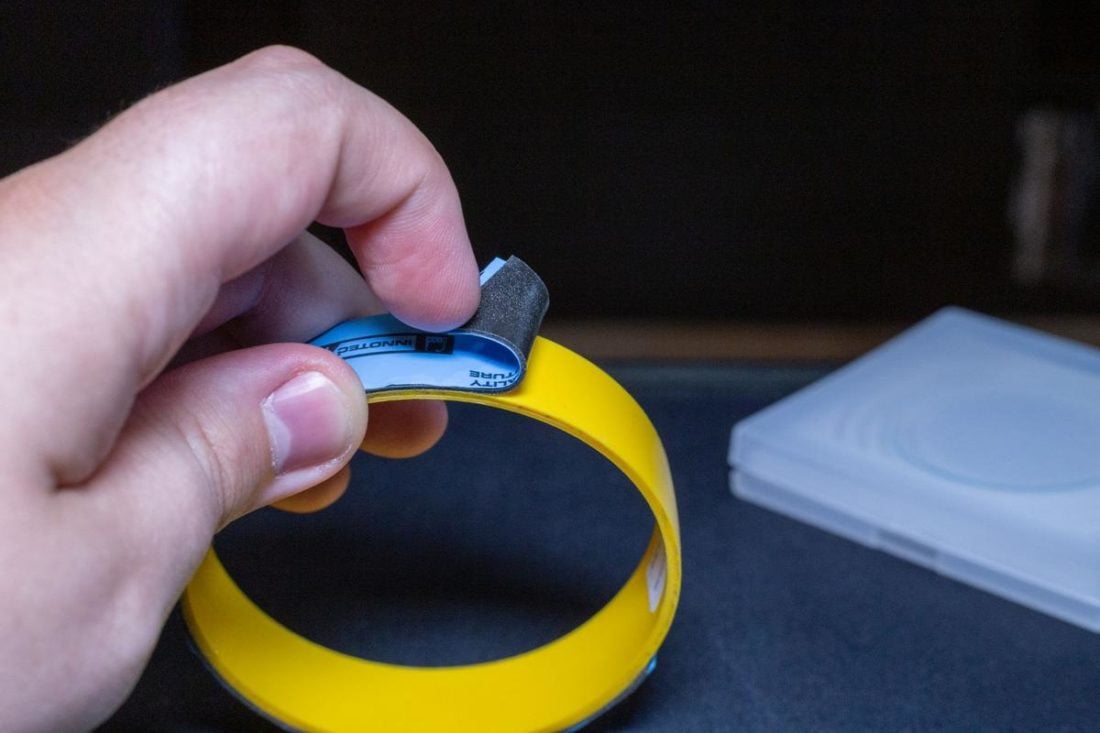
Two 58mm UV filters (normally used for camera lenses) Two ring-shaped neodymium magnets Double-sided Molding tape Work mat Screwdriver set Pliers Scissors Optional (but highly recommended): Misodiko ear pads
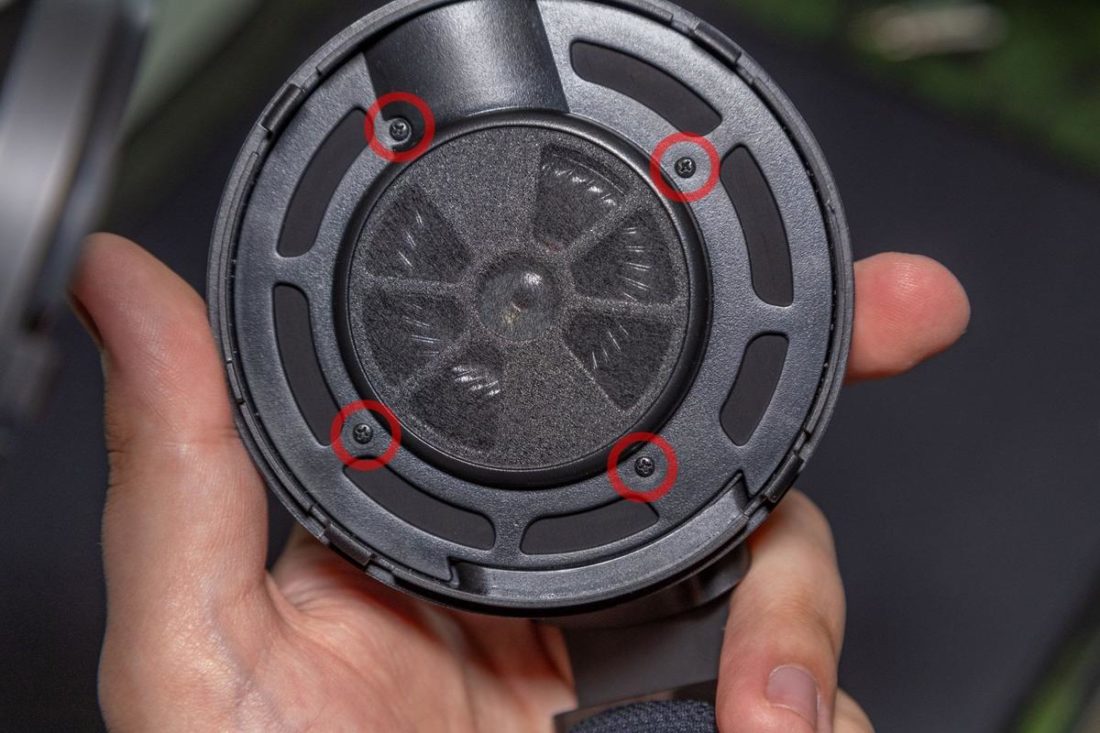
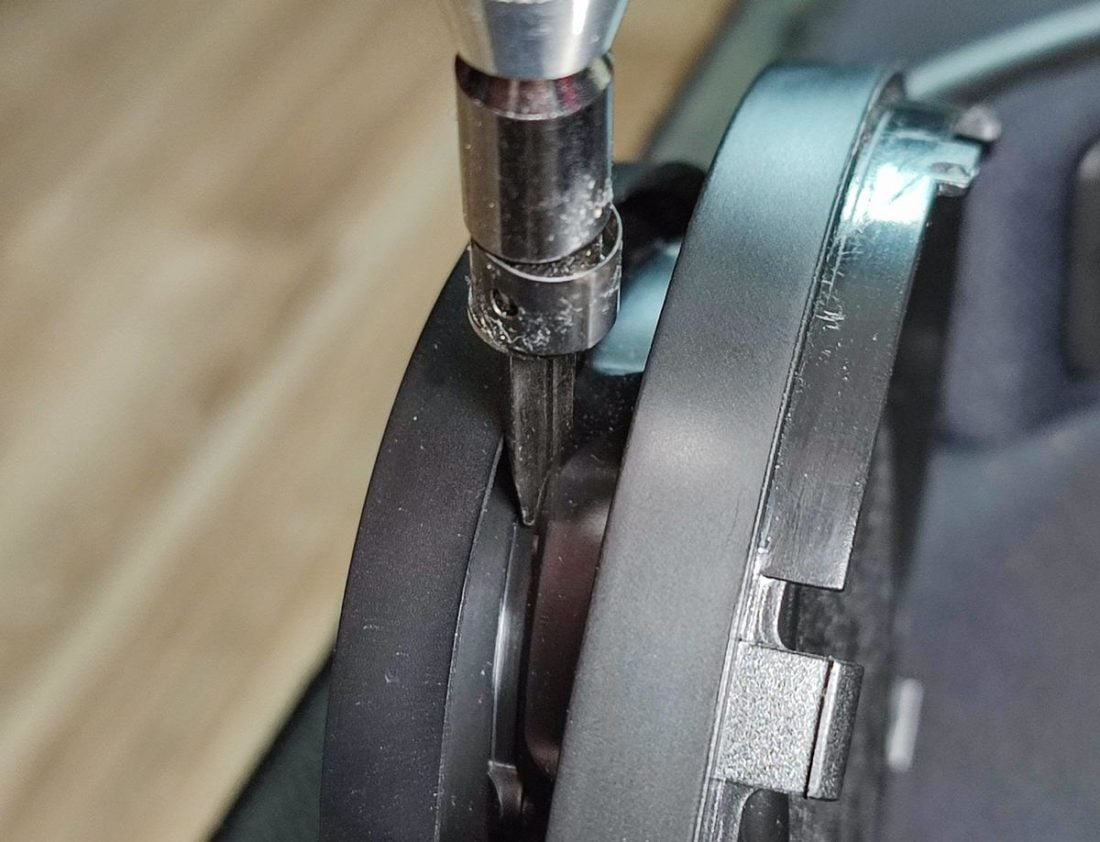
How to Dismantle the SHPs
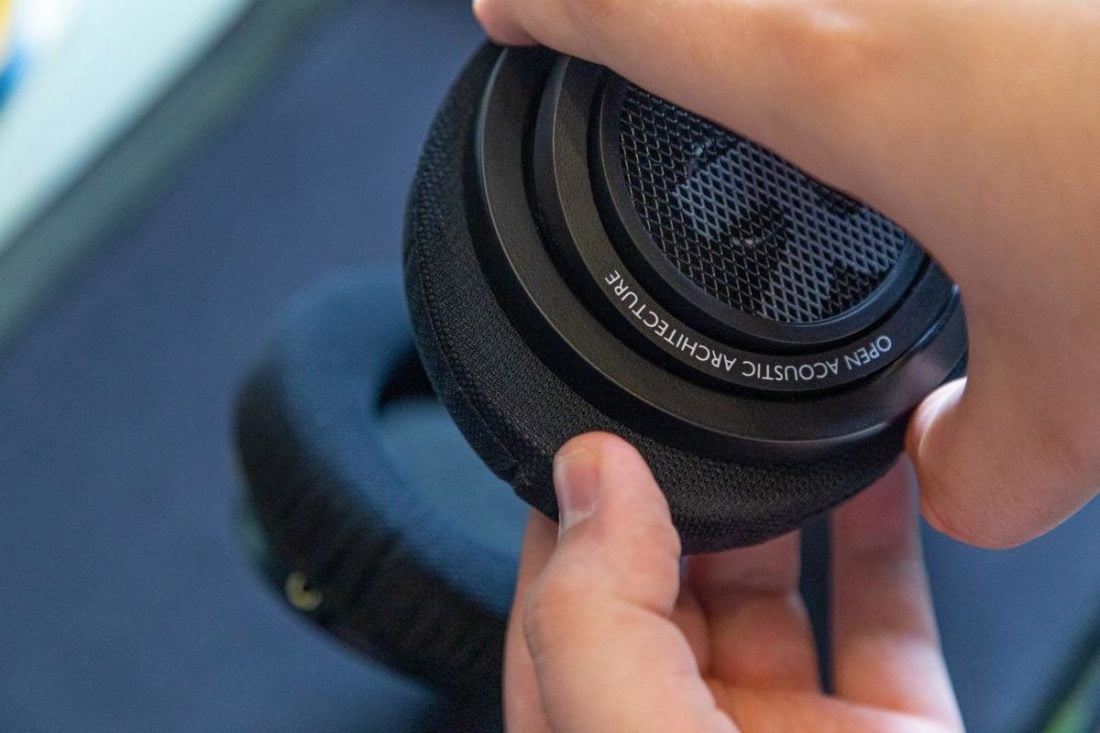
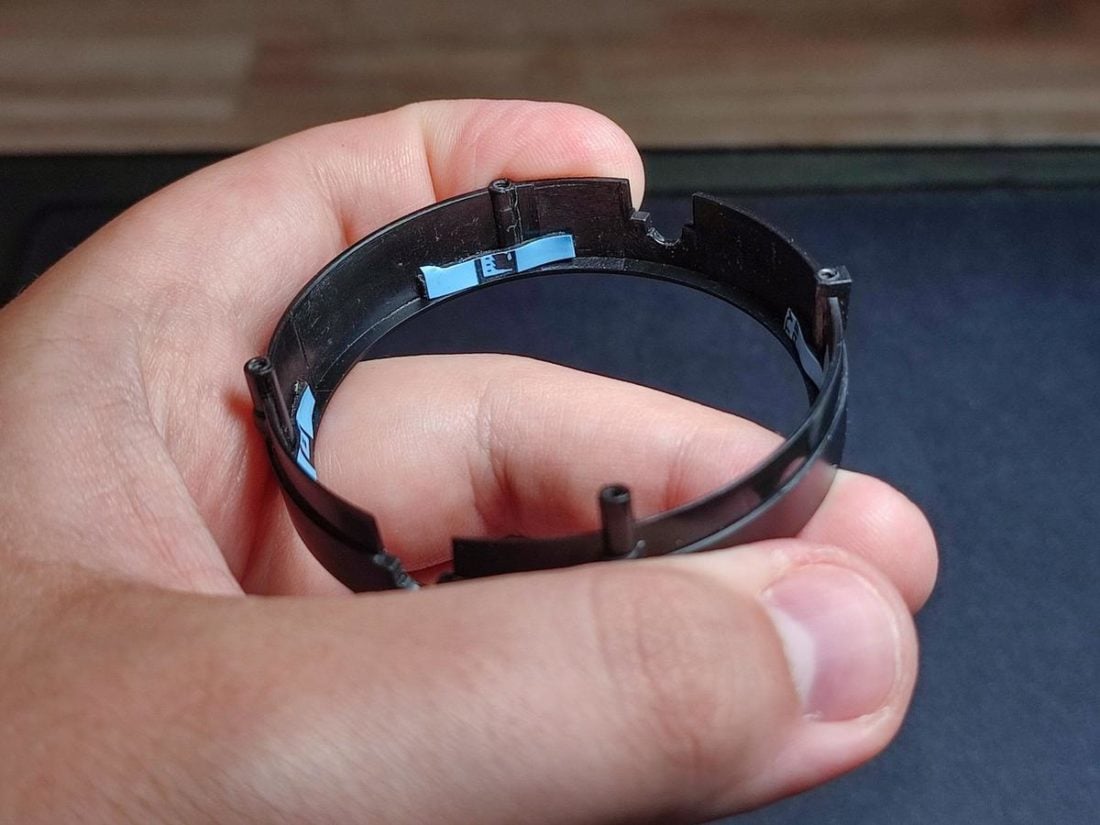
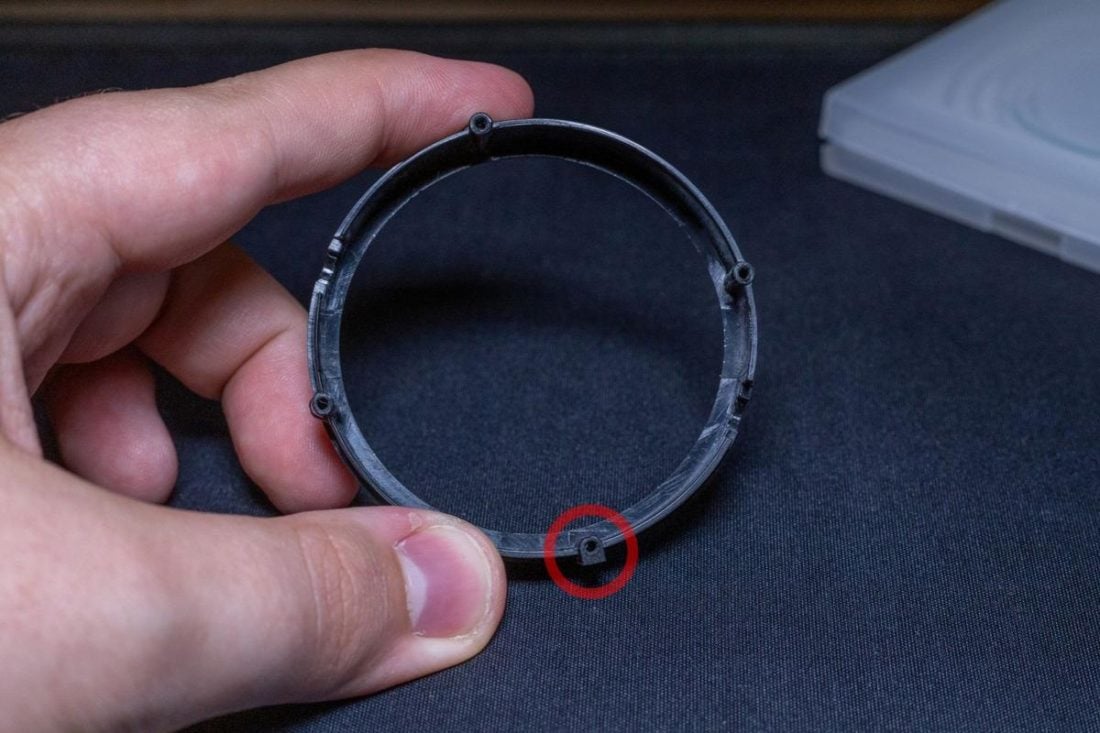
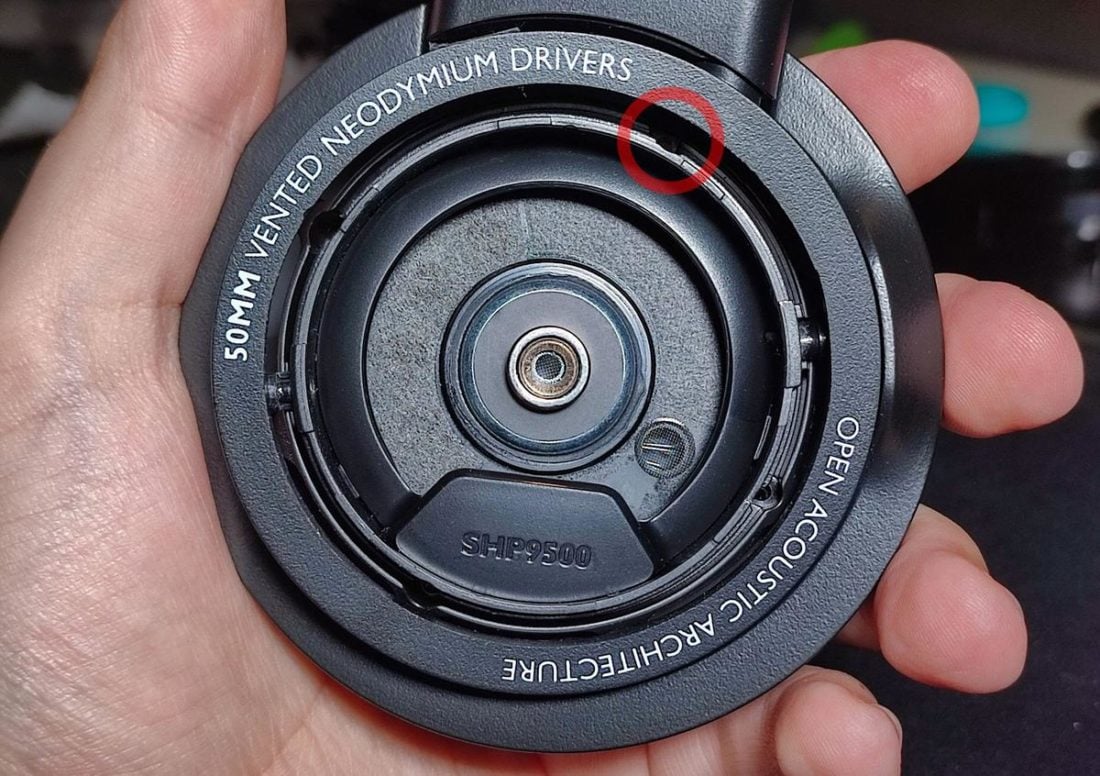
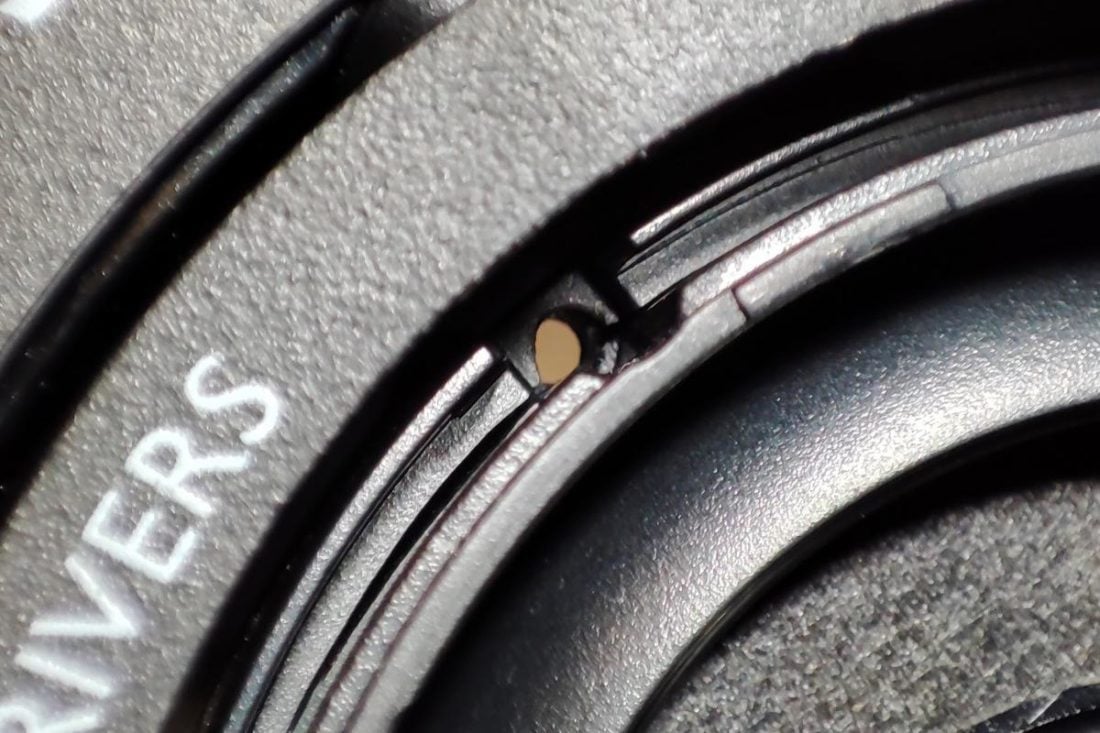
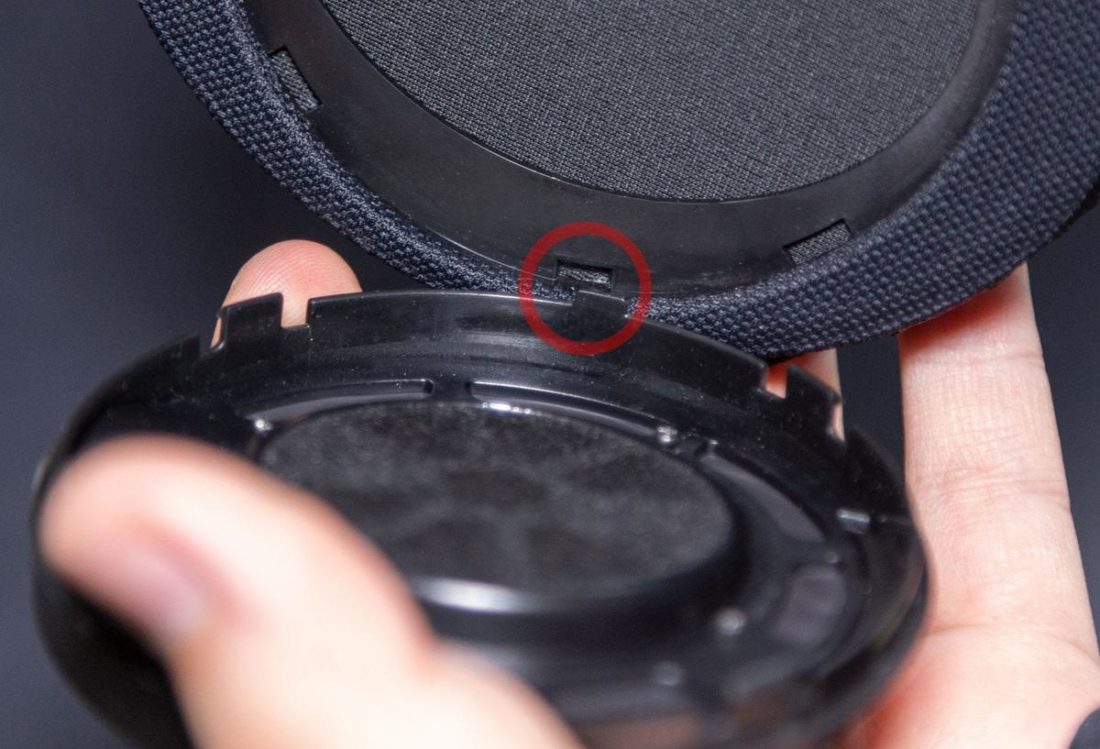
As with many inexpensive headphones, the companies have to lower the price somehow in order to be competitive, and Philips certainly does so with the SHPs. However, as you can hear the electronics are not the cheap part. The materials used in the housing are! This black plastic is sufficient to withstand day-to-day use, but even then scratches will emerge sooner or later. You have to be quite cautious to not bend or damage the plastic of the SHPs.
Steps
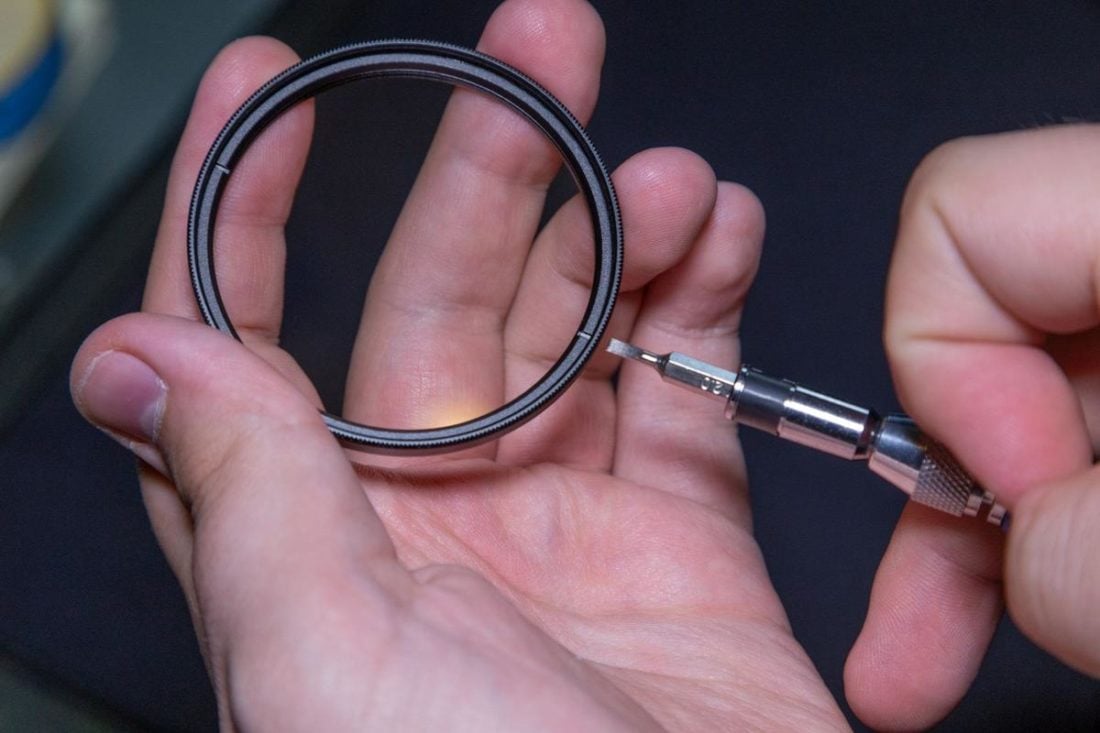
Disassembling the UV Filter
Of course, you can use other types of glass for such a modification, and there are other methods like cutting optics grade glass with special equipment. Please comment below if you find a better, more durable alternative.
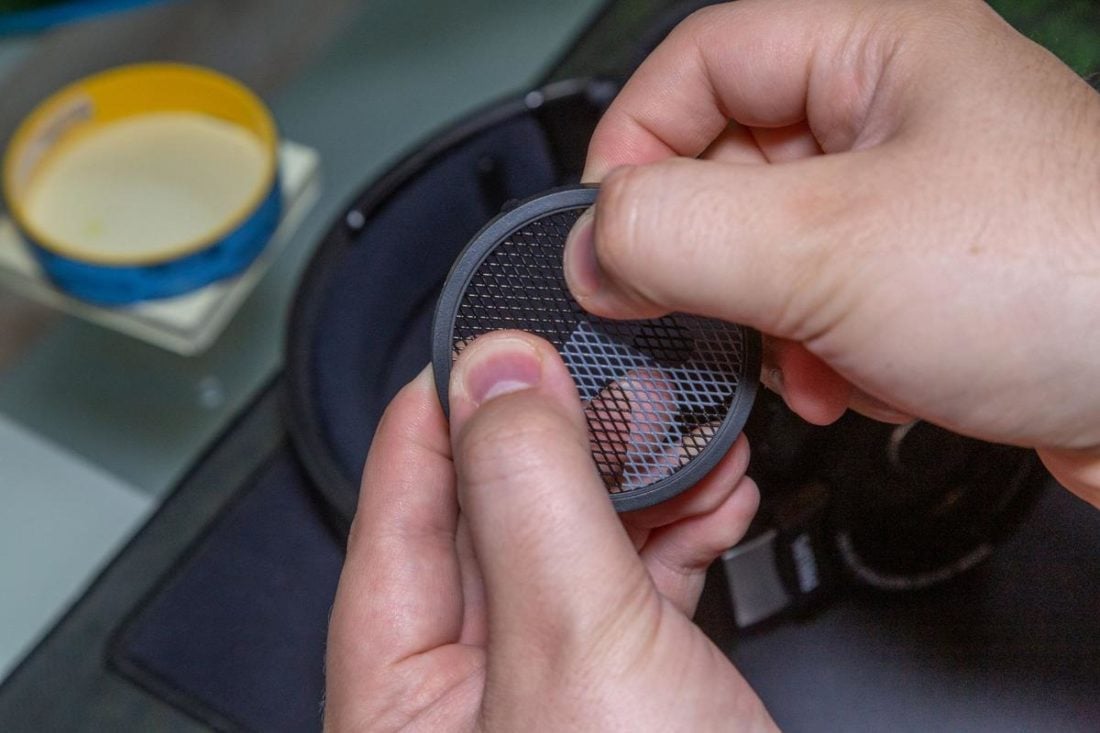
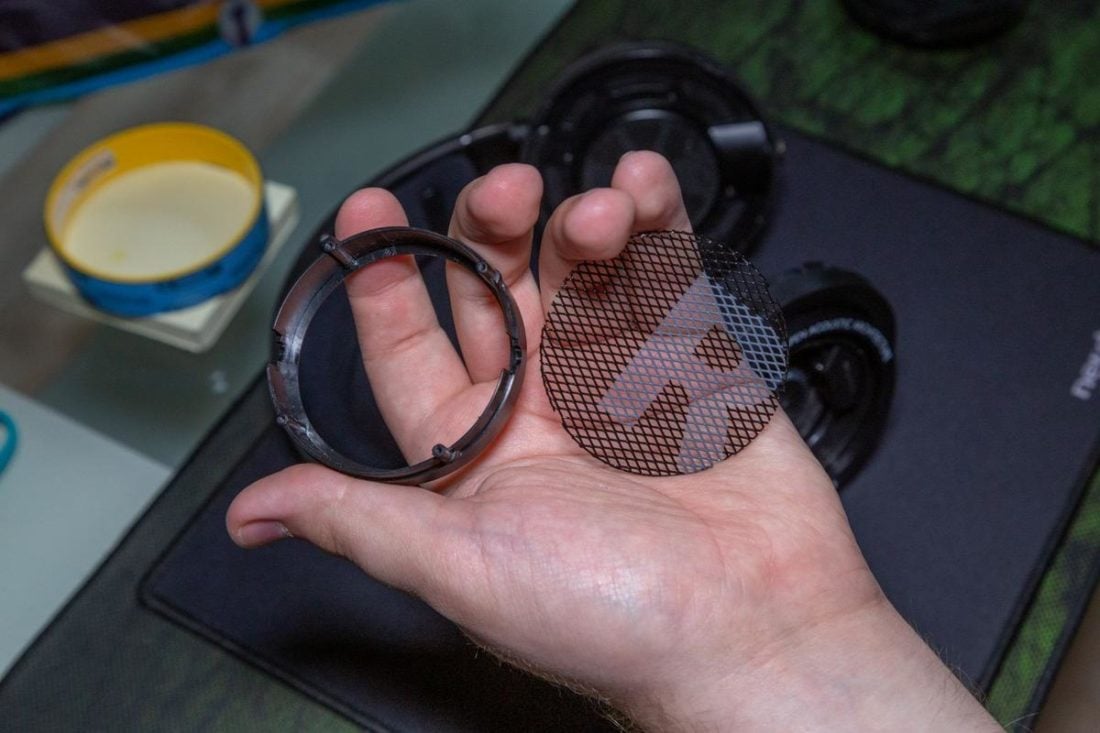
Installing the Glass Inside the Grill Housing
Steps
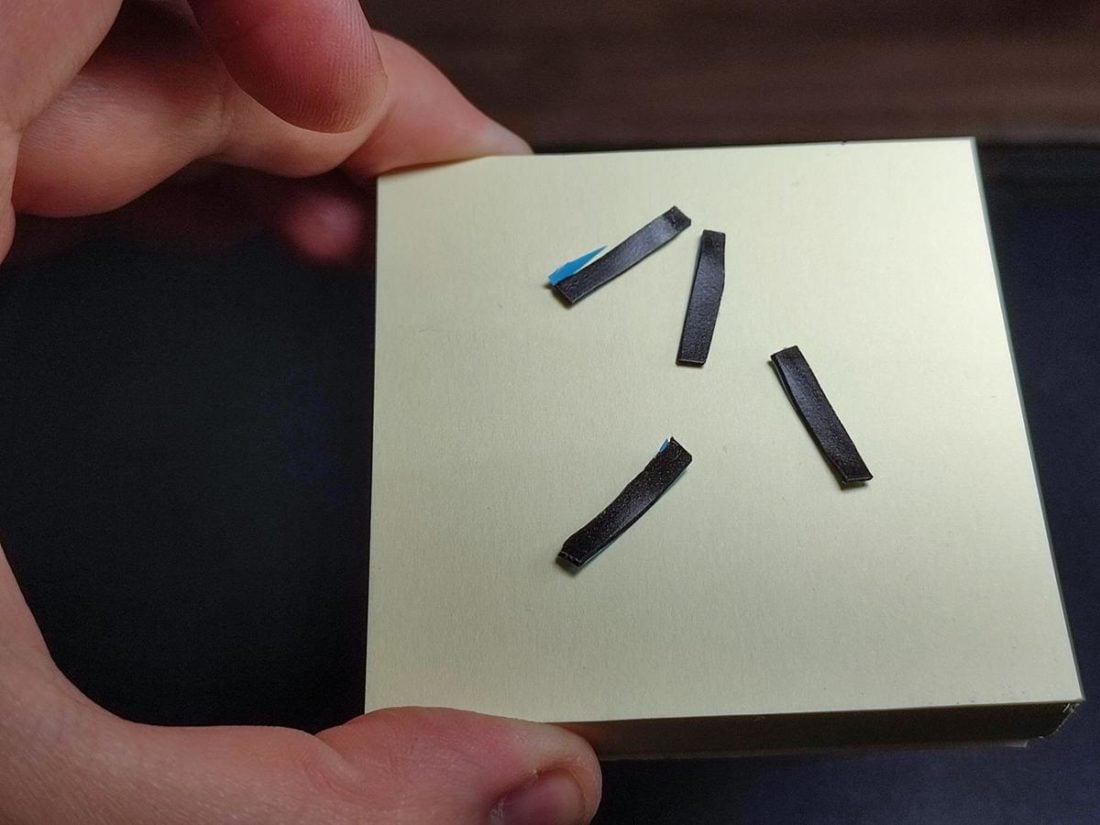
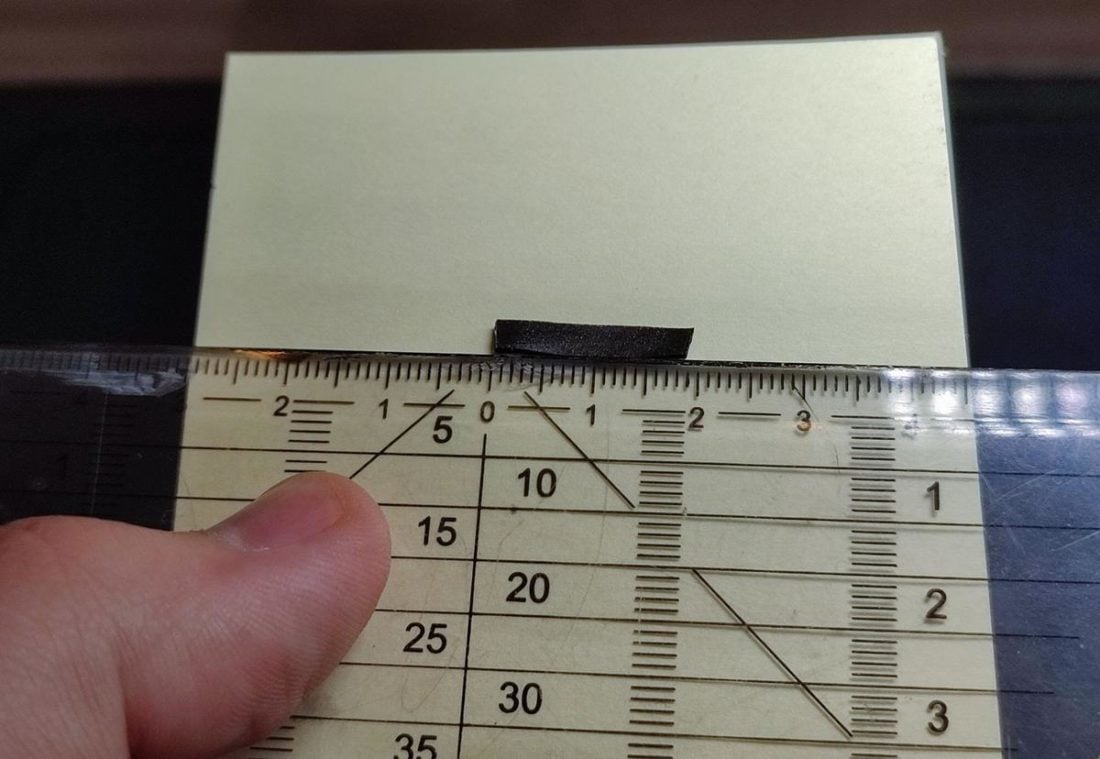
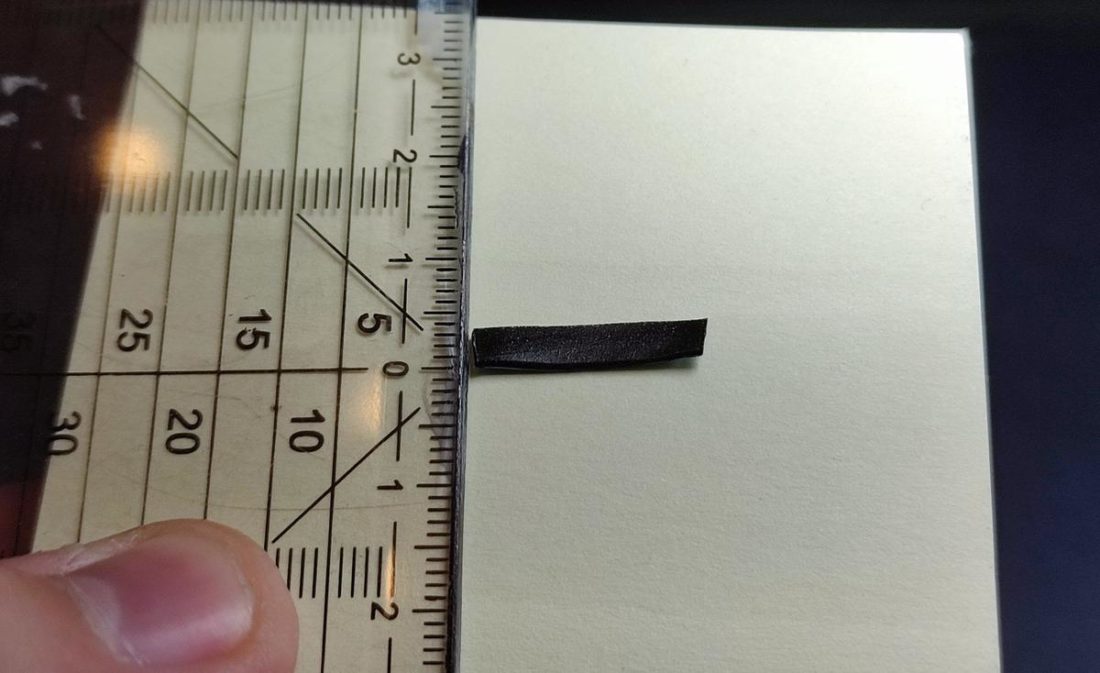
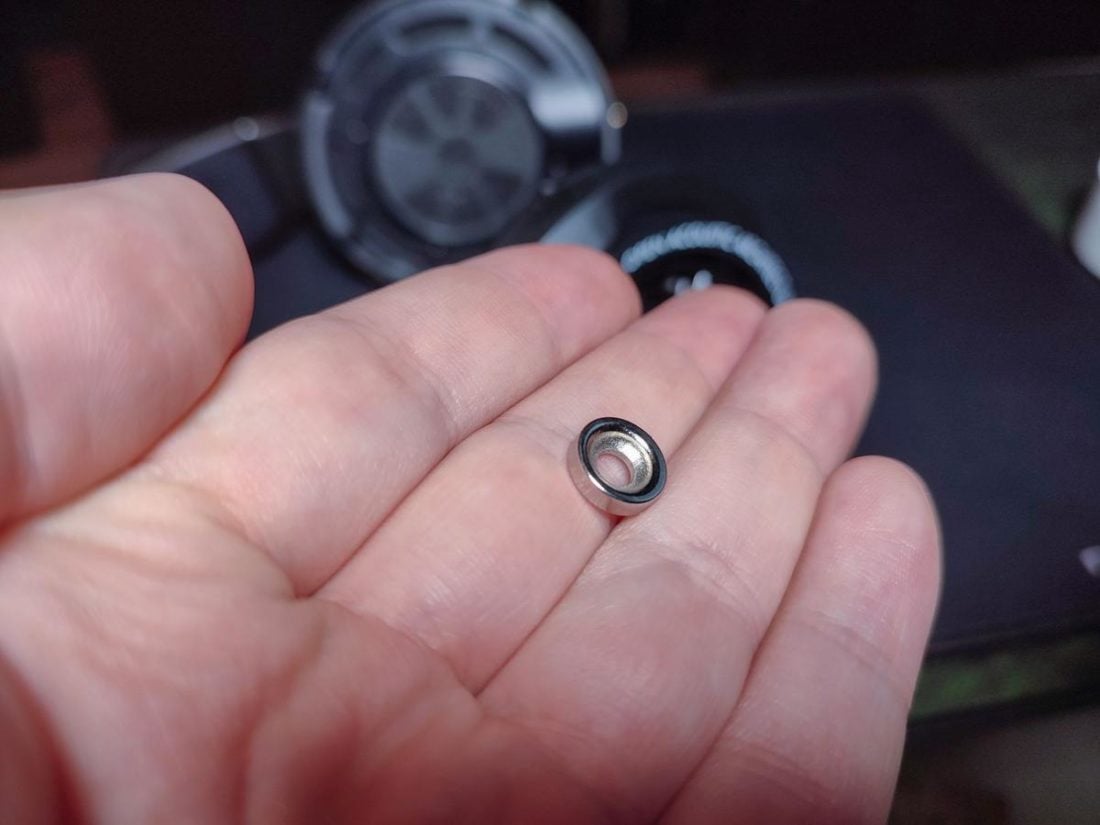
Installing the Magnets Onto the Drivers
Here comes the part where you install magnets into your headphones to modify how the driver works and therefore change the way the SHPs sound. I suggest that you try it with magnets on before putting everything back together. In the end, I removed the magnets because, with my preferred music, they push the highs too much for my liking. Vocals, on the other hand, sound better than the stock SHPs, but drum heavy parts do not sound that great with the magnets installed. That is, of course, just my opinion and I highly recommend that you try it for yourself!
Steps
Putting Everything Back Together
Change the Ear Pads for Better Comfort and Sound
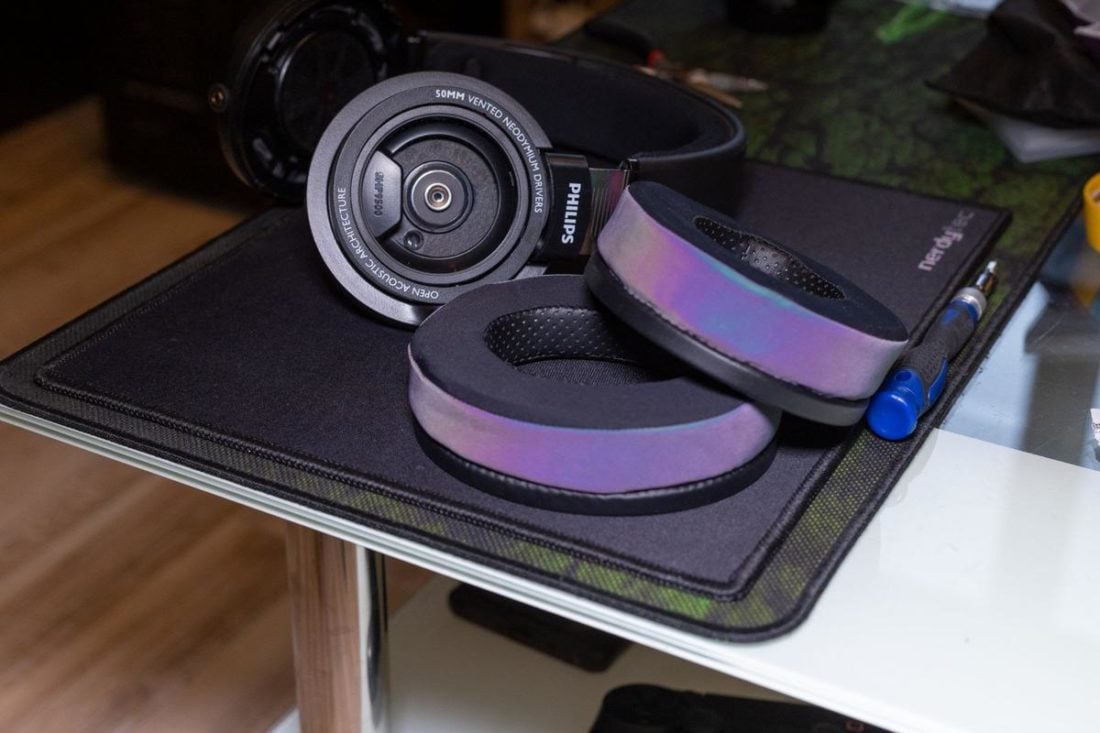
The Misodiko ear pads are filled with a cooling gel which makes longer music/gaming sessions more comfortable. They also change the sound by increasing the distance between your ears and the drivers. They mount the same way as the stock ear pads.
Conclusion
Regardless of whether you do only the glass mod or do it in combination with the magnets and ear pads, your SHP9500 will be aesthetically brought to a new level and given a new distinctive look and sound. Just make sure to take care of the glass plates and keep them clean. Of course, your modifications don’t have to stop here. I already considered incorporating LEDs to light up the interior. Remember, there are no limits to one’s creativity!
